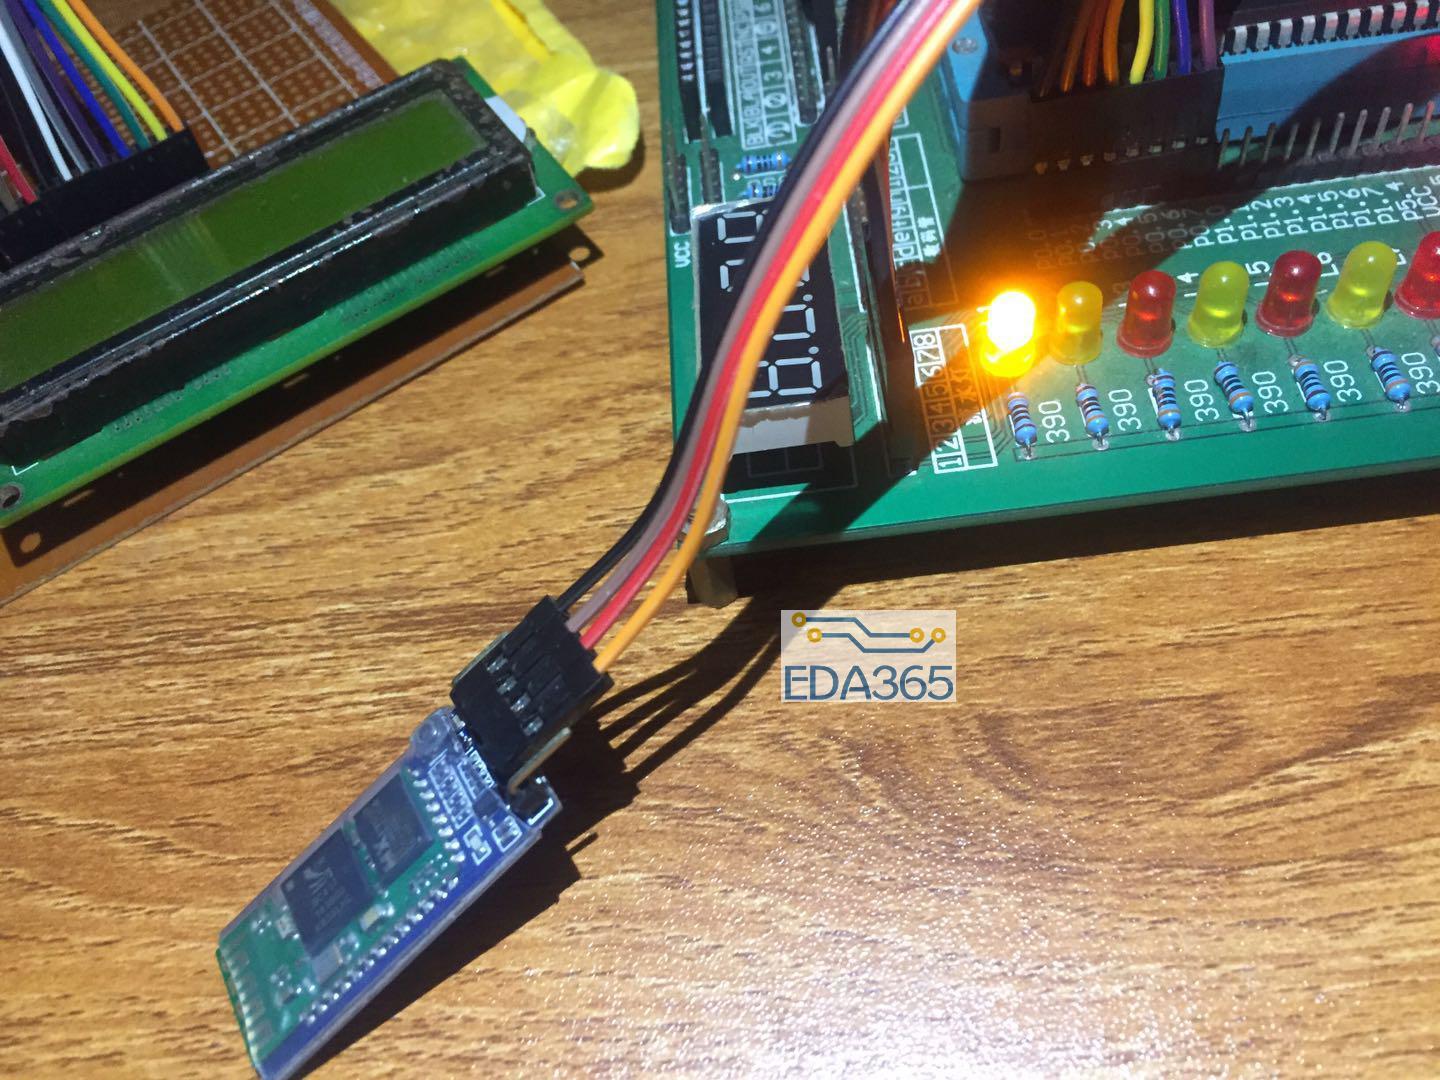
1. 调整 年月日 时分
2. 显示 当前周围温度
3. 显示 当前日期的 是星期几
4. 整点报时
5. 若调整时间 不合理, 比如2012-02-34 ,则 调整失效
6. 若调整时间,则可以放弃所调整的时候。
#include
#include
#include"DS18B20.h" //温度
#include"LCD1602.h" //1602液晶
#include"MyFuntion.h" //自定义头文件
//独立按键P1口
sbit Key1=P3^0;
sbit Key2=P3^1;
sbit Key3=P3^2;
sbit Key4=P3^3;
sbit Key5=P3^4;
sbit Key6=P3^5;
sbit Key7=P3^6;
unsigned char T; //温度
unsigned char Week1[]={"Monday"}; //周一
unsigned char Week2[]={"Tuesday"}; //周二
unsigned char Week3[]={"Wednes"};
unsigned char Week4[]={"Thurs"};
unsigned char Week5[]={"Friday"};
unsigned char Week6[]={"Satur"}; //周六
unsigned char Week7[]={"Sunday"}; //周日
unsigned char Week[8];
void DisplayWeek()
{
unsigned char C=20;
unsigned char y;
unsigned char m;
unsigned char d;
unsigned char W;
unsigned char i=0;
if(month<3)
{
y=year2-1;
m=12+month;
}
else
{
y=year2;
m=month;
}
d=day;
W=C/4-2*C+y+y/4+13*(m+1)/5+d-1;
W=W%7;
Write_Command(0x80+0x49);
switch(W)
{
case 0: strcpy(Week, Week7);break;
case 1: strcpy(Week, Week1);break;
case 2: strcpy(Week, Week2);break;
case 3: strcpy(Week, Week3);break;
case 4: strcpy(Week, Week4);break;
case 5: strcpy(Week, Week5);break;
case 6: strcpy(Week, Week6);break;
}
while(Week[i]!='\0')
{
Write_Data(Week[i]);
i++;
Delay1(5);
}
for(; i<7; i++)
Write_Data(' ');
}
//扫描这些按键是否被按下
void Keycan()
{
if(Key1==0) //进入调整时间状态
{
Delay();
if(Key1==0) //停止定时器T0 启动定时器T1
{
ButtonBeep();
SaveCurrentTime(); //进入调整时间状态 必须保存当前时间 若取消调时 则可以恢复时间
TR0=0;//停止定时器T0
TR1=1;//启动定时器T1
tempSecond=0;
}
while(!Key1);
}
if(Key2==0)
{
Delay();
if(Key2==0) // 取消调时 恢复单片机调时之前的实际时间
{
if(TR0==0) //在调整时间状态下 恢复时间
{
ButtonBeep();
CurrentTime();
}
}
while(!Key2);
}
if(Key3==0) //退出调整时间状态:
{
Delay();
if(Key3==0)
{
ButtonBeep(); //停止定时器T1 启动定时器T0
TR0=1;//启动定时器T0
TR1=0;//停止定时器T1
Write_Command(0x0c); //设置开显示 不显示光标
if(TestTime()==0)//由于调整的时间 不合理 因此退出的时候 必须恢复原来的时间
{
HourBeep();
CurrentTime();
}
}
while(!Key3);
}
//当定时器T0 停止时 才能 进行下面的各个按键的操作
if(TR0==0) //定时器T0 停止
{
if(Key4==0) // Key4 控制光标往右移动
{
Delay();
if(Key4==0)
{
AdjustCursorRight(); //控制光标往右移动
ButtonBeep();
}
while(!Key4);
}
if(Key5==0) // Key5 控制光标往左移动
{
Delay();
if(Key5==0)
{
AdjustCursorLeft(); //控制光标往左移动
ButtonBeep();
}
while(!Key5);
}
if(Key6==0) // 递增
{
Delay();
if(Key6==0)
{
UpDown=1;
ButtonSetTime();
ButtonBeep();
}
while(!Key6);
}
if(Key7==0) // 递减
{
Delay();
if(Key7==0)
{
UpDown=0;
ButtonSetTime();
ButtonBeep();
}
while(!Key7);
}
}
}
void DisplayTemperature()
{
T=GetTemperature();
Write_Command(0x80+0xb);
Write_Data(0x30+T/10);
Delay1(5);
Write_Command(0x80+0xc);
Write_Data(0x30+T%10);
Delay1(5);
Write_Command(0x80+0xd);
Write_Data(0xdf);
Delay1(5);
Write_Command(0x80+0xe);
Write_Data('C');
Delay1(5);
}
void main()
{
TMOD=0X11;
EA=1;
ET0=1;
ET1=1;
TR0=1; //启动定时器T0
TH0=(65536-50000)/256;
TL0=(65536-50000)%256;
TH1=(65536-50000)/256;
TL1=(65536-50000)%256;
InitLCD(); //初始化LCD
Init_Table_YMD(table1); // LCD 时间表 年月日
Init_Table_HMS(table2); // LCD 时间表 时分秒
DisplayLCD_YMD(table1, 10); //LCD显示时间 年月日
DisplayLCD_HMS(table2, 8); //LCD显示时间 时分秒
while(1)
{
Keycan();
DisplayTemperature(); //温度
if(t0==20)
{
t0=0;
DisplayWeek(); //星期几
IncreaseHMS(); // 时分秒 递增
}
}
}
//定时器T0 实现自动 计时
void LCD_Timer0() interrupt 1 using 0
{
TH0=(65536-50000)/256;
TL0=(65536-50000)%256;
t0++;
}
void LCD_Timer1() interrupt 3 using 1
{
TH1=(65536-50000)/256;
TL1=(65536-50000)%256;
t1++;
if(t1==20)
{
t1=0;
tempSecond++;
}
}
 热门文章
更多

