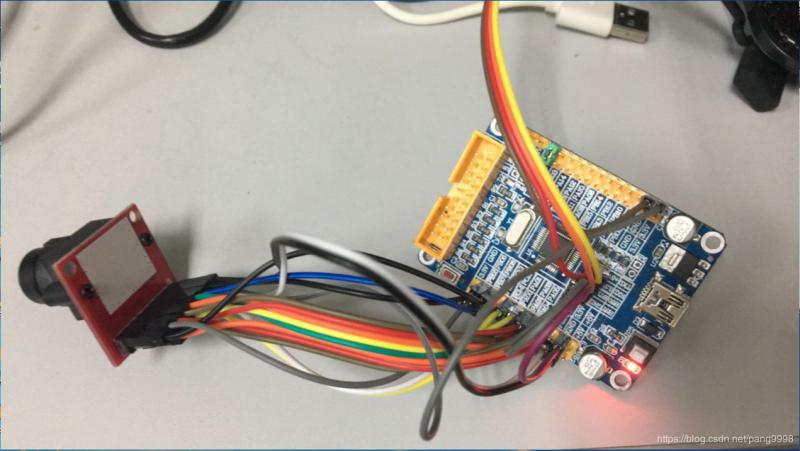
一.仿真proteus图,可直接运行:
二. 51单片机源代码,keil开发环境:
#include
#define uchar unsigned char
#define uint unsigned int
sbit IN1 = P2^0;
sbit IN2 = P2^1;
sbit PWM = P2^2;
sbit Key1 = P1^7;
sbit Key2 = P1^6;
sbit Key3 = P1^5;
sbit Key4 = P1^4;
sbit Key5 = P1^3;
uint t = 46082;
void delay_ms(uchar t)
{
uchar x,y;
for(x = t;x > 0;x--)
for(y = 110;y > 0;y--);
}
void Timer0_Init()
{
TMOD = 0X01;
TH0 = (65536 - 46082)/256;
TL0 = (65536 - 46082)%6;
EA = 1 ;
ET0 = 1;
TR0 = 1;
}
void Positive_Rotation()
{
IN1 = 0;
IN2 = 1;
}
void Reverse_Rotation()
{
IN1 = 1;
IN2 = 0;
}
void Stop_Rotation()
{
IN1 = 1;
IN2 = 1;
}
void Key_Scan()
{
if(Key1 == 0)
{
delay_ms(20);
if(Key1 == 0)
{
Positive_Rotation();
}
}
else if(Key2 == 0)
{
delay_ms(20);
if(Key2 == 0)
{
Reverse_Rotation();
}
}
else if(Key3 == 0)
{
delay_ms(20);
if(Key3 == 0)
{
Stop_Rotation();
}
}
else if(Key4 == 0)
{
delay_ms(20);
if(Key4 == 0)
{
t = t + 100;
if(t > 65000)
t = 65000;
}
}
else if(Key5 == 0)
{
delay_ms(20);
if(Key5 == 0)
{
t = t - 100;
if(t < 500)
t = 500;
}
}
}
void main()
{
Timer0_Init();
while(1)
{
Key_Scan();
}
}
void timer0() interrupt 1
{
TH0 = t/256;
TL0 = t%6;
PWM = ~PWM;
}
『本文转载自网络,版权归原作者所有,如有侵权请联系删除』
 热门文章
更多


