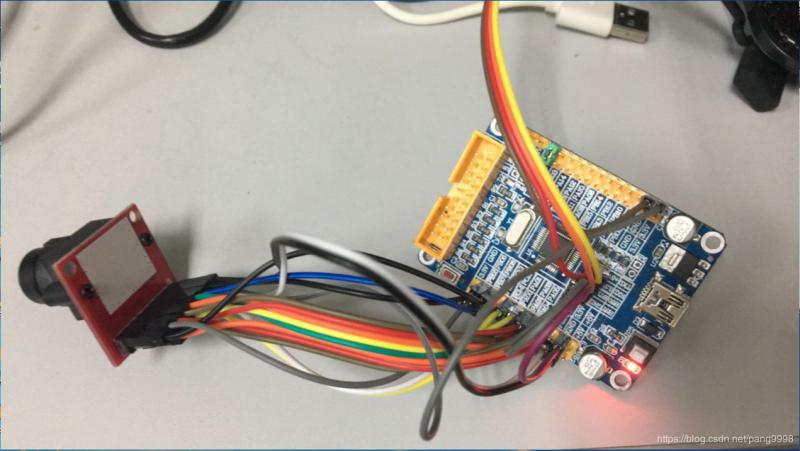
说明:GPIOA,GPIO_Pin_0对应key1;GPIOA,GPIO_Pin_1对应key2;GPIOA,GPIO_Pin_2对应LED1;GPIOA,GPIO_Pin_3对应LED2
#include "stm32f10x.h"
#include "stm32f10x_rcc.h"
#include "stm32f10x_gpio.h"
#include "system_stm32f10x.h"
/* 控制小灯: 0 灭 1 亮 */
#define ON 1
#define OFF 0
#define KEY_ON 0
#define KEY_OFF 1
void RCC_Configuration(void);
void GPIO_Configuration(void);
void SetLed(uint8_t set);
void delay_ms(u16 time);
uint8_t KeyScan(GPIO_TypeDef * GPIOx, uint16_t GPIO_Pin_x);
int main()
{
SystemInit();
RCC_Configuration();
GPIO_Configuration();
SetLed(ON);
while (1)
{
if (KeyScan(GPIOA,GPIO_Pin_0) == KEY_ON)
{
/* LED1反转 读取GPIOA 0端口位的值并用1减去之后再写入此位即LED1的控制位 */
GPIO_WriteBit(GPIOA,GPIO_Pin_2,(BitAction)(1-GPIO_ReadOutputDataBit(GPIOA,GPIO_Pin_2)));
}
if (KeyScan(GPIOA,GPIO_Pin_1) == KEY_ON)
{
/* LED2反转 读取GPIOA 0端口位的值并用1减去之后再写入此位即LED2的控制位 */
GPIO_WriteBit(GPIOA, GPIO_Pin_3,(BitAction)(1-GPIO_ReadOutputDataBit(GPIOA,GPIO_Pin_3)));
}
}
}
void RCC_Configuration(void)
{
RCC_APB2PeriphClockCmd(RCC_APB2Periph_GPIOA,ENABLE);
}
void GPIO_Configuration(void)
{
GPIO_InitTypeDef GPIO_InitStructure;
GPIO_InitStructure.GPIO_Pin = GPIO_Pin_2 | GPIO_Pin_3;
GPIO_InitStructure.GPIO_Mode = GPIO_Mode_Out_PP;
GPIO_InitStructure.GPIO_Speed = GPIO_Speed_50MHz;
GPIO_Init(GPIOA, &GPIO_InitStructure);
GPIO_InitStructure.GPIO_Pin = GPIO_Pin_0 | GPIO_Pin_1;
GPIO_InitStructure.GPIO_Mode = GPIO_Mode_IPU; /* 配置按键的引脚为上拉 */
//GPIO_InitStructure.GPIO_Speed = GPIO_Speed_50MHz; /*输入模式不需要配置端口的输出速率GPIO_Speed*/
GPIO_Init(GPIOA, &GPIO_InitStructure);
}
void SetLed(uint8_t set)
{
if(set==ON){
GPIO_SetBits(GPIOA,GPIO_Pin_2);//LED1
GPIO_SetBits(GPIOA,GPIO_Pin_3);//LED2
}
if(set==OFF){
GPIO_ResetBits(GPIOA,GPIO_Pin_2);
GPIO_ResetBits(GPIOA,GPIO_Pin_3);
}
}
/**
* @brief : 按键按下检测
* @param : 端口 : GPIOx 端口位 : GPIO_Pin_x
* @retval : 按键的状态 : 按下 弹起
*/
uint8_t KeyScan( GPIO_TypeDef * GPIOx, uint16_t GPIO_Pin_x )
{
/* 检测是否有按键按下 */
if ( GPIO_ReadInputDataBit( GPIOx, GPIO_Pin_x ) == KEY_ON )
{
/* 延时消抖 延时大约5ms */
delay_ms(5);
if ( GPIO_ReadInputDataBit( GPIOx, GPIO_Pin_x ) == KEY_ON )
{
while ( GPIO_ReadInputDataBit( GPIOx, GPIO_Pin_x ) == KEY_ON ); /* 等待按键释放 */
return KEY_ON;
}
else
{
return KEY_OFF;
}
}
return KEY_OFF;
}
void delay_ms(u16 time)
{
u16 i=0;
while(time--)
{
i=12000;
while(i--);
}
}
『本文转载自网络,版权归原作者所有,如有侵权请联系删除』
 热门文章
更多


